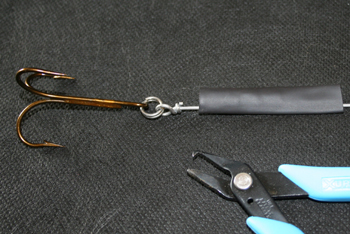
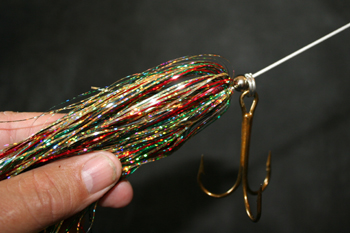
First attach the 7/0 treble hook
using one size
6 heavy duty stainless steel split ring to
the looped end of your 0.051" or 0.062" diameter by
12-inch long looped spinner shaft. Next slide a 2-inch length piece of
5/16" shrink tubing down the shaft and over the split ring and onto
the shaft of the treble hook. Once the tubing is in place, shrink the
tubing using a lighter (figure 1).
Figure 1
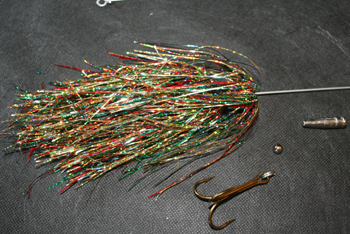
The next step is to slide a
1/4oz or 3/8oz egg sinker down the shaft so that it is resting against the
shrink tubing (figure 2).
Figure 2
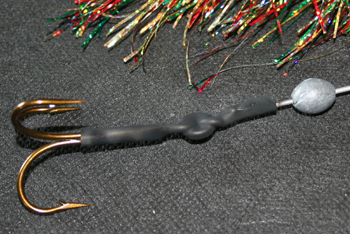
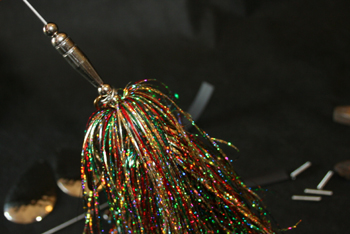
Now, slide the primary (large)
skirt, then the secondary (small) skirt down the spinner shaft. The skirt
should just cover the bottom of the treble hook. Metal beads may be used
as spacers to adjust the skirt hangs to far down (figure 3).
Figure 3
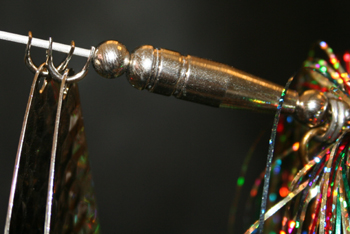
Now, slide down the shaft a
5/16" metal bead so that it is resting against the coil spring of the
secondary skirt. Attach a heavy duty split ring to the second treble hook
and slide the split ring all the way down the 5/16" metal bead
already on shaft (figure 4).
Figure 4
Now, slide on your desired metal
beads and brass lure body as shown in figure 5.
Figure 5
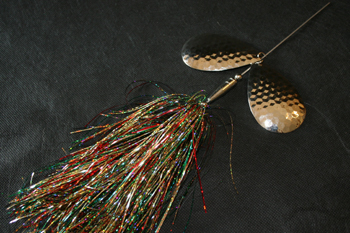
All that's left is for you to
slide on the spinner blades. With all the hot blade colours and patterns
available, selecting spinner blades may not be an easy decision.
To get the proper blade rotation
Interlocking the clevices properly is very important. Side a size 6
stirrup clevice through the holes on both spinner blades. Now thread the
wire shaft through the holes of the two stirrup clevices as show in figure
6.